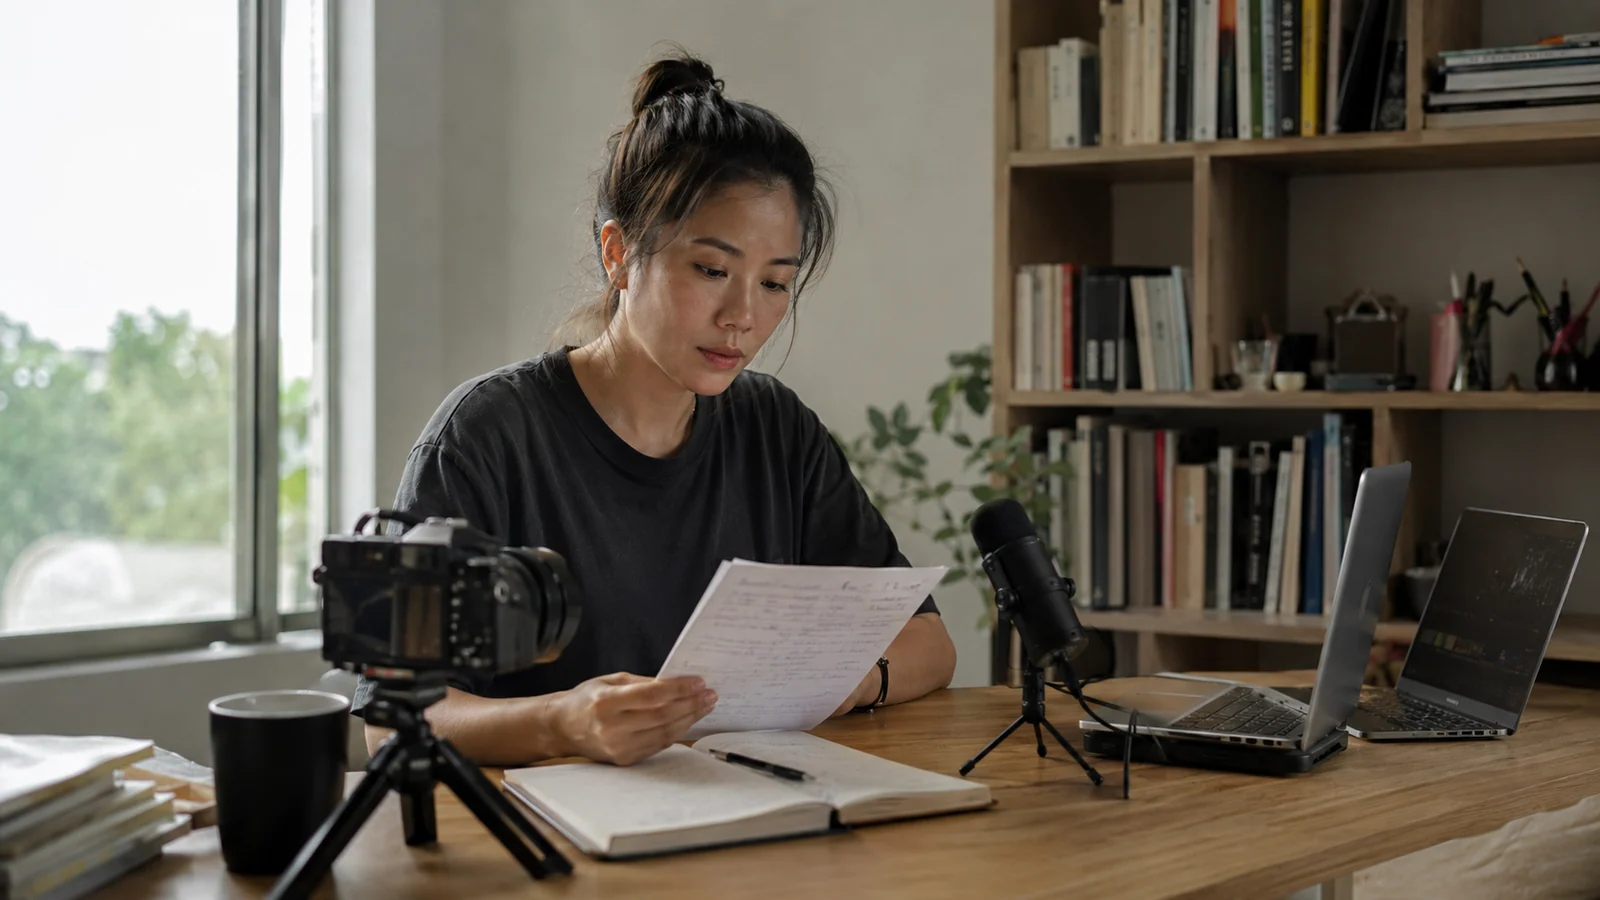
A personal-brand video should make one idea easier to understand. The avatar, studio, subtitles, and edit are supporting tools—not the idea itself.
This tutorial shows how to create a 16:9 YouTube scene that can be reused for founder insights, product education, case-study breakdowns, and personal stories.
Choose one of three proven formats
Founder Authority
Use this for a strong opinion, market insight, or decision framework. Place the presenter on one side and reserve the other side for a headline, example, or chart.
Expert Breakdown
Use this when the viewer needs to see a process. The open side can hold screenshots, product footage, or a three-step framework.
Personal Story
Use this for origin stories, mistakes, transformations, and lessons. Keep the visual warmer and let the script carry more emotion.
Step 1: Prepare the source photo
Use a photo you own or have permission to animate. Choose a front-facing image with visible eyes, a relaxed mouth, even light, and no object covering the face. Avoid extreme angles and heavy beauty filters.
Step 2: Apply the YouTube preset
In UGC Maker, select Build a 16:9 personal-brand video. Preview the three examples and click Use this format. The quick action sets:
- the recommended scene,
- a starter script,
- 16:9 framing,
- and either Seedance 2.0 Mini or Kling Avatar.
You can change every setting before generation.
Step 3: Swap the character with GPT Image 2
Upload the source photo and select a background such as Authority Interview, Creator Desk, Podcast, or CEO Office. GPT Image 2 builds a new 16:9 talking-head image while the prompt reserves useful negative space.
Check the result before continuing. The eyes, face shape, hair, and clothing should remain coherent. If the source identity changes too much, simplify the scene and use a clearer photo.
Step 4: Rewrite the starter script
Use this structure for a 45–90 second YouTube segment:
Point of view: Most people believe X. I think Y.
Reason: The reason is not what you expect.
Framework: Here are the three parts.
Example: This is what it looks like in practice.
CTA: If you want the full workflow, use the link below.
Keep one sentence per breath. Spell difficult product names phonetically when necessary.
Step 5: Choose the talking engine
Use Seedance 2.0 Mini for a more expressive environmental shot. Supply the generated character image and the final voice audio as references.
Use Kling Avatar for a direct portrait presentation. You can upload audio or use CelestiAI voice from the script.
Step 6: Add supporting visuals
Do not leave a talking head unchanged for several minutes. Add a relevant visual when the script introduces a new concept:
- show the product when it is named,
- show the workflow while explaining steps,
- show evidence when making a claim,
- return to the presenter for conclusions and transitions.
Step 7: Package the video
Create a title that promises a clear outcome, not a vague topic. Pair it with a thumbnail that shows one idea. The first 30 seconds should confirm the promise immediately.
A reusable publishing cadence
Record one pillar lesson each week. Cut the strongest points into three short-form clips. Turn one framework into a carousel or newsletter. One good argument can support an entire week of distribution without repeating the same asset.
Open the 16:9 Personal Brand Studio or learn how to plan a 30-day content engine.